You have the option to create print layouts for different types of outputs.
At the moment, in the current release, you can create print layouts for:
•ID Cards
•Accreditations
•Coachcards
•Certificates
Any of these print options asks for a layout file to be used. Each option will only give you the layouts which are created for the specific card; so you can't use id cards layouts for certificates etc.
To create a layout, select the Create print layout from the print menu.
It will show you two screens:
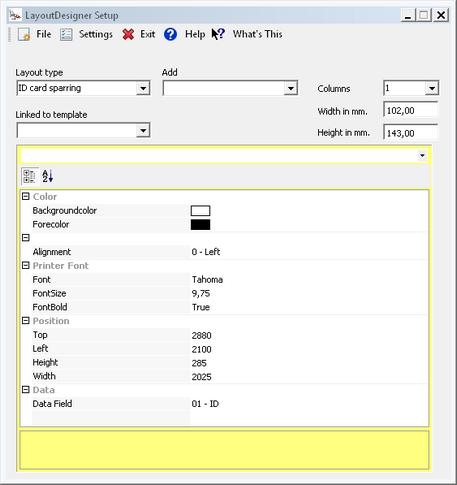
This is the setup screen.
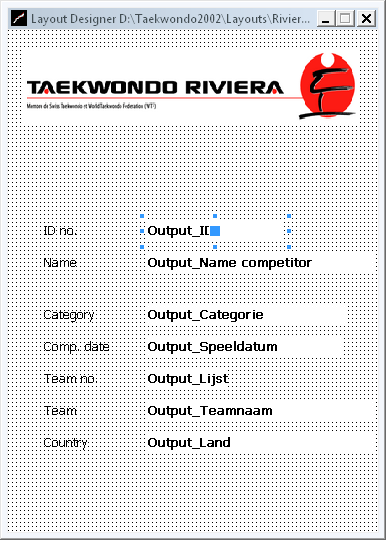
And this is the actual layout designer.
To create a new layout, click on File/New layout. It will clear the designer screen. Select the format of the layout by entering the width and height in mm. You can select any size upto A4 (210x297 mm).
Enter a no. of columns if you for instance create A6 cards and want to print them on A4 paper. Then you should select 2 columns.
Select the layout type from the listbox:
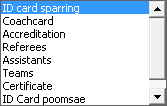
These are the current layout types that can be created.
Logo:
Each item on this card has been entered by the program. Each picture can be added by selecting the Logo option from the Add menu.
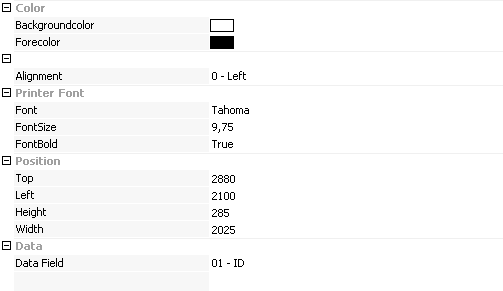
Each logo has some setup options, like image name, position and stretch (fit or not) into the available image size.
You can change the size by either changing the position parameters or by clicking the logo, and pointing the mouse to the blue points on each side of the logo and holding the mouse and moving it. Currently you can only select one object at a time.
This action is valid for any object you want to create.
The following objects are supported by the layout designer:
•Label
•Database data
•Photo
•Logo
•Line/form
•Barcode
•Checkbox
•Zone
•Function ID
•Background
•RTF text
•Country Flag
•Transportation
Label:
You can add a label by selecting the Label option from the Add menu.
Each label has it's own parameters:

Database data:
You can also add data from the tournament database by selecting the Database data option from the Add menu.
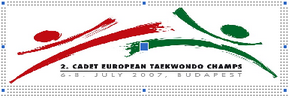
It will enable you to add specific information from the database on your layout, like name, category, country etc....
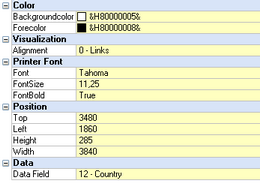
The Data court option gives a list of possible items to be shown. This list differs for each type of layout
Photo:
You can also add a photo from the tournament database by selecting the Photo option from the Add menu.
This will show the picture of the specific competitor, official of accreditation during printing of the layout.

Click on File/Save layout to save your layoutfile. You can now use it in your print options.
For some layouts, like id cards or certificates, you can see a preview of the card
If you have more layouts with the same basic layout, you can create a template file.
Just create a normal layout and save it as template (LTP file).
In the layout file that will use the template file, you have to open the pulldown box to select the template.
![]()
Save the layout. For the print first the template will be loaded and then the layout.
You will see the template in the layout designer, but you can not change the template itself anymore.
Only by opening the template you can make changes and save them.